

Choose a lawn sprinkler that fits your yard
Our sprinkler and timer picks, plus a simple way to check where the water lands and how long to run it.
Match the spray to the shape
For hose watering, choose a spray pattern that fits the lawn—not just the biggest coverage number on the box.
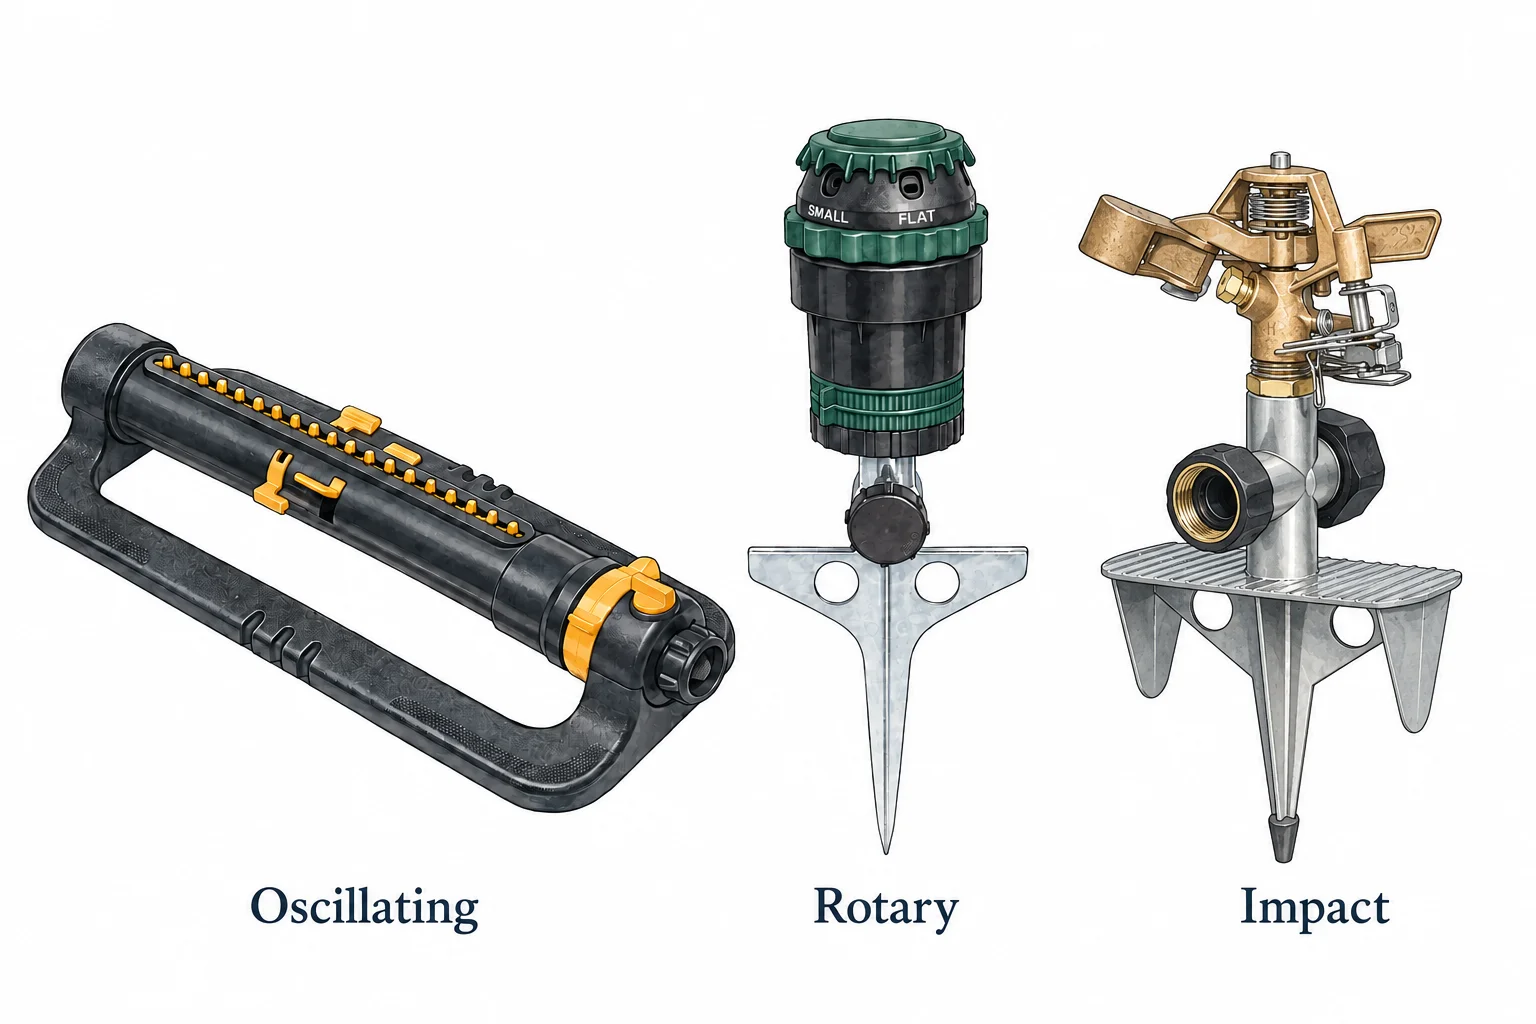
- Oscillating: a moving tube waters a rectangle. Adjustable width and range help fit side yards and rectangular lawns.
- Rotary: a rotating head waters a circle or part of one. Choose an adjustable-arc model for corners and curved edges.
- Impact: the familiar clicking sprinkler with a spring-loaded arm. Full- and part-circle models suit open lawns; check the pressure and flow requirements before buying.
Open your property on the satellite map and measure the lawn sections. Look at their shape, where the outdoor faucet sits, and whether a hose can reach each section without crossing a busy walkway.
The sprinkler setup we recommend
- Rectangular lawns: the Melnor XT 65167AMZ oscillating sprinkler lets you adjust width, range, and flow. Those controls help fit a side yard or a wider back lawn without changing sprinklers.
- Corners and curved areas: the Orbit H2O-Six 58573 on a metal spike has six spray patterns and an adjustable watering sector. Set the arc into the lawn, then check the edges.
- Repeat watering: the Melnor HydroLogic 77100 two-zone timer supports four separate start times per zone, each with its own duration. That suits two hose runs or repeated seed watering. Stagger the zones if running both reduces the spray’s reach.
Start with one sprinkler and a hose that reaches. Add another only if moving it becomes a chore.
Check the water, not just the spray
- Set out matching shallow containers. Place them near the sprinkler, midway out, and near the edges of the watered area. Straight-sided cans work well.
- Run a 15-minute test. Use the hose, faucet opening, and sprinkler settings you plan to keep. Test in calm weather.
- Measure the collected depth. Big differences mean you should adjust the pattern or move the sprinkler. Running longer will not fix a dry corner without overwatering the wetter spots.
Once coverage is reasonably even, average the depths. If the cans average ¼ inch in 15 minutes, that setup applies about 1 inch an hour. A ½-inch application would take about 30 minutes. This is a worked example—not a preset for every lawn.
If water starts running onto a path or pooling, stop and let it soak in before finishing the application. Do not count runoff as useful watering.
Set the timer for the lawn you have
Established grass: water when it needs it, preferably early in the morning. Around 1 inch a week from rain and irrigation combined is a common starting point for an actively growing lawn; your grass, soil, and weather may call for less or more. Subtract rainfall before adding irrigation.
New seed: use short, repeated waterings to keep the surface damp during germination, then reduce frequency as roots develop. Follow our new-seed watering guidance rather than applying the established-lawn schedule.
Watch a complete scheduled cycle before leaving it to run. Check connections, batteries, start times, and shutoff. Use rain delay when appropriate, follow local watering restrictions, and check the soil between cycles—a timer cannot tell you that the lawn is already wet.